
PROCESS JOURNAL 002: Supporting Materials
Aluminum is clearly the focal point of my studies, but I want to start by sharing the other materials in the sand casting process. Specifically, the ones I use in place of what is popular today.
Modern jewelers’ waxes come in a rainbow of colors and forms, equating to its workability. From the harder green wax you may see the most from jewelers you follow; this allows for fine carving and filing for good detail, to the red wax, which is softer and more malleable. What makes these waxes so workable and all-encompassing is typically one ingredient: paraffin.
Paraffin is a plastic. A petroleum derived product that not only leaves behind its own micro shavings when filed away to make a mold but when burned, like say, in the lost-wax casting process, can release carcinogens like formaldehyde (1).
WAX
What I, and some other jewelers, use is beeswax. I source my wax from a company in Lisbon that works solely with smaller, sustainable and ethically run Portuguese farms (2).
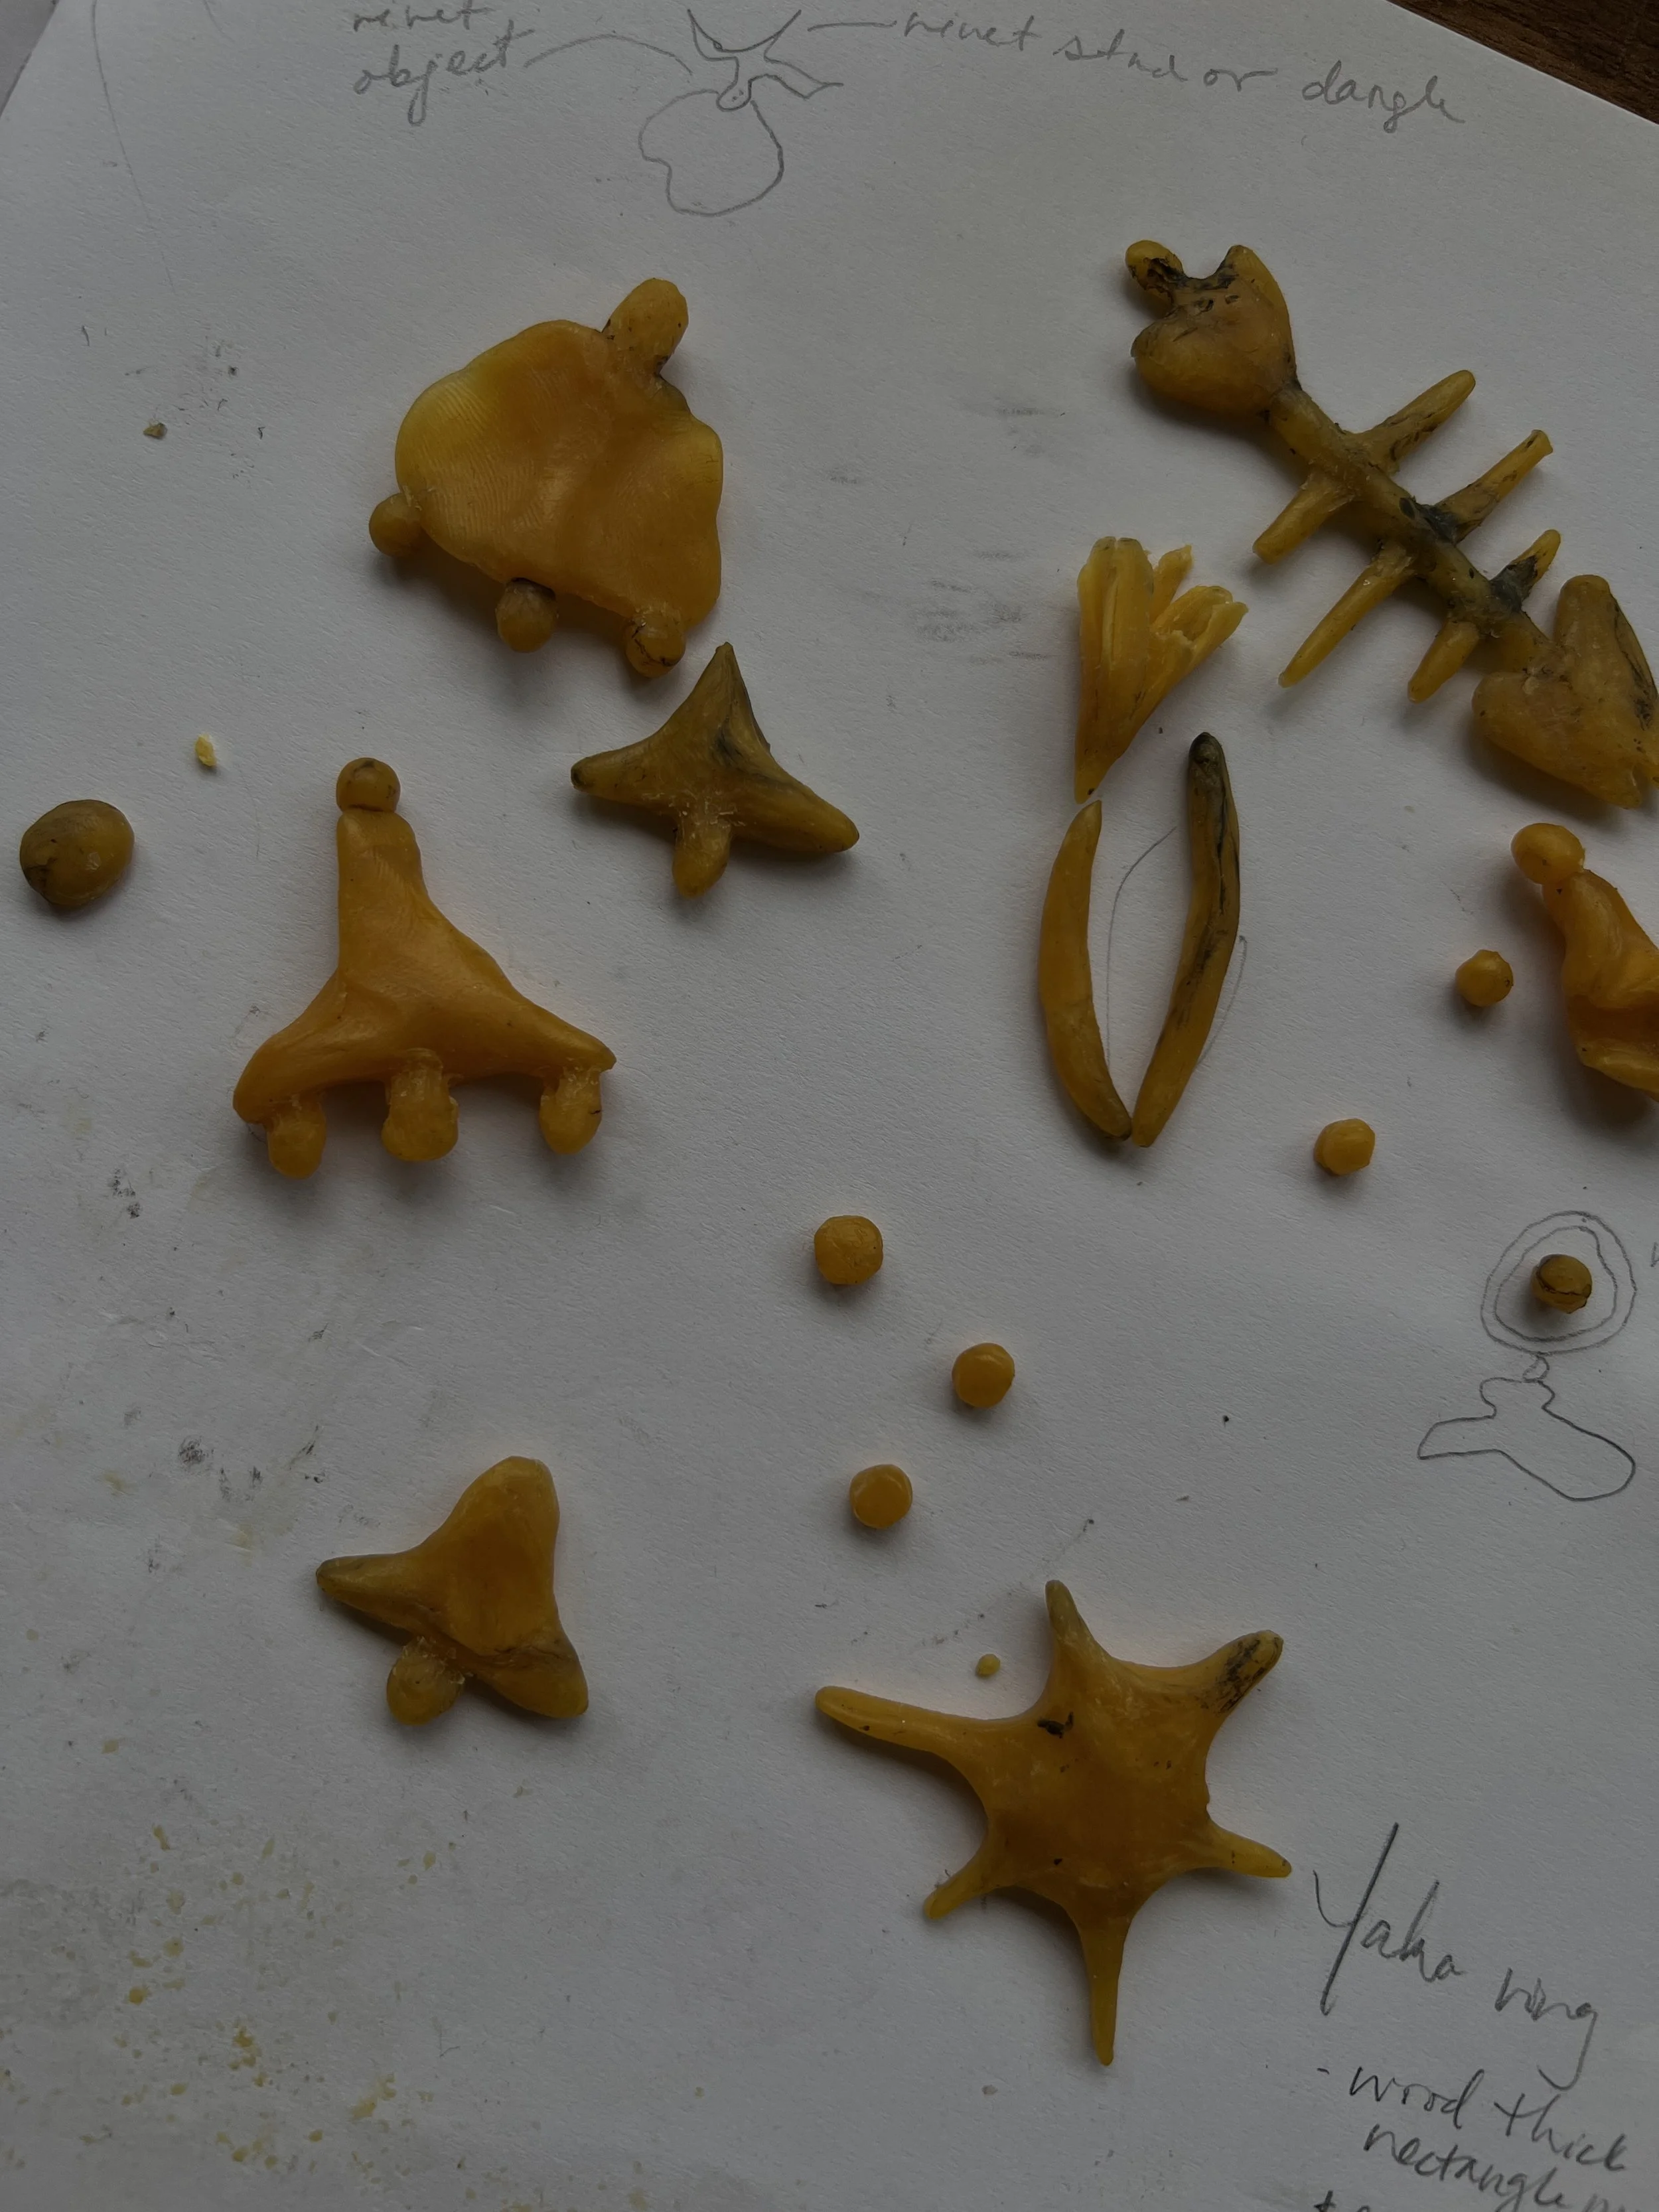
Beeswax does come without its downsides, but I like to look at them as challenges to solve in the name of a more sustainable process. It is a very soft wax that can leave behind fingerprints and leave molds flattened in the mold packing stage. It pushes me into a different kind of creativity—problem solving— like using other forms as molds, like below, where you see the droplets from water casting used as molds for the Tear Drop Ring.
SAND
Sand casting is known for not being great at capturing detail. I chose it, though, because a) I am a bit of a masochist, and b) it was the process I could see the most potential for cutting out the most waste.
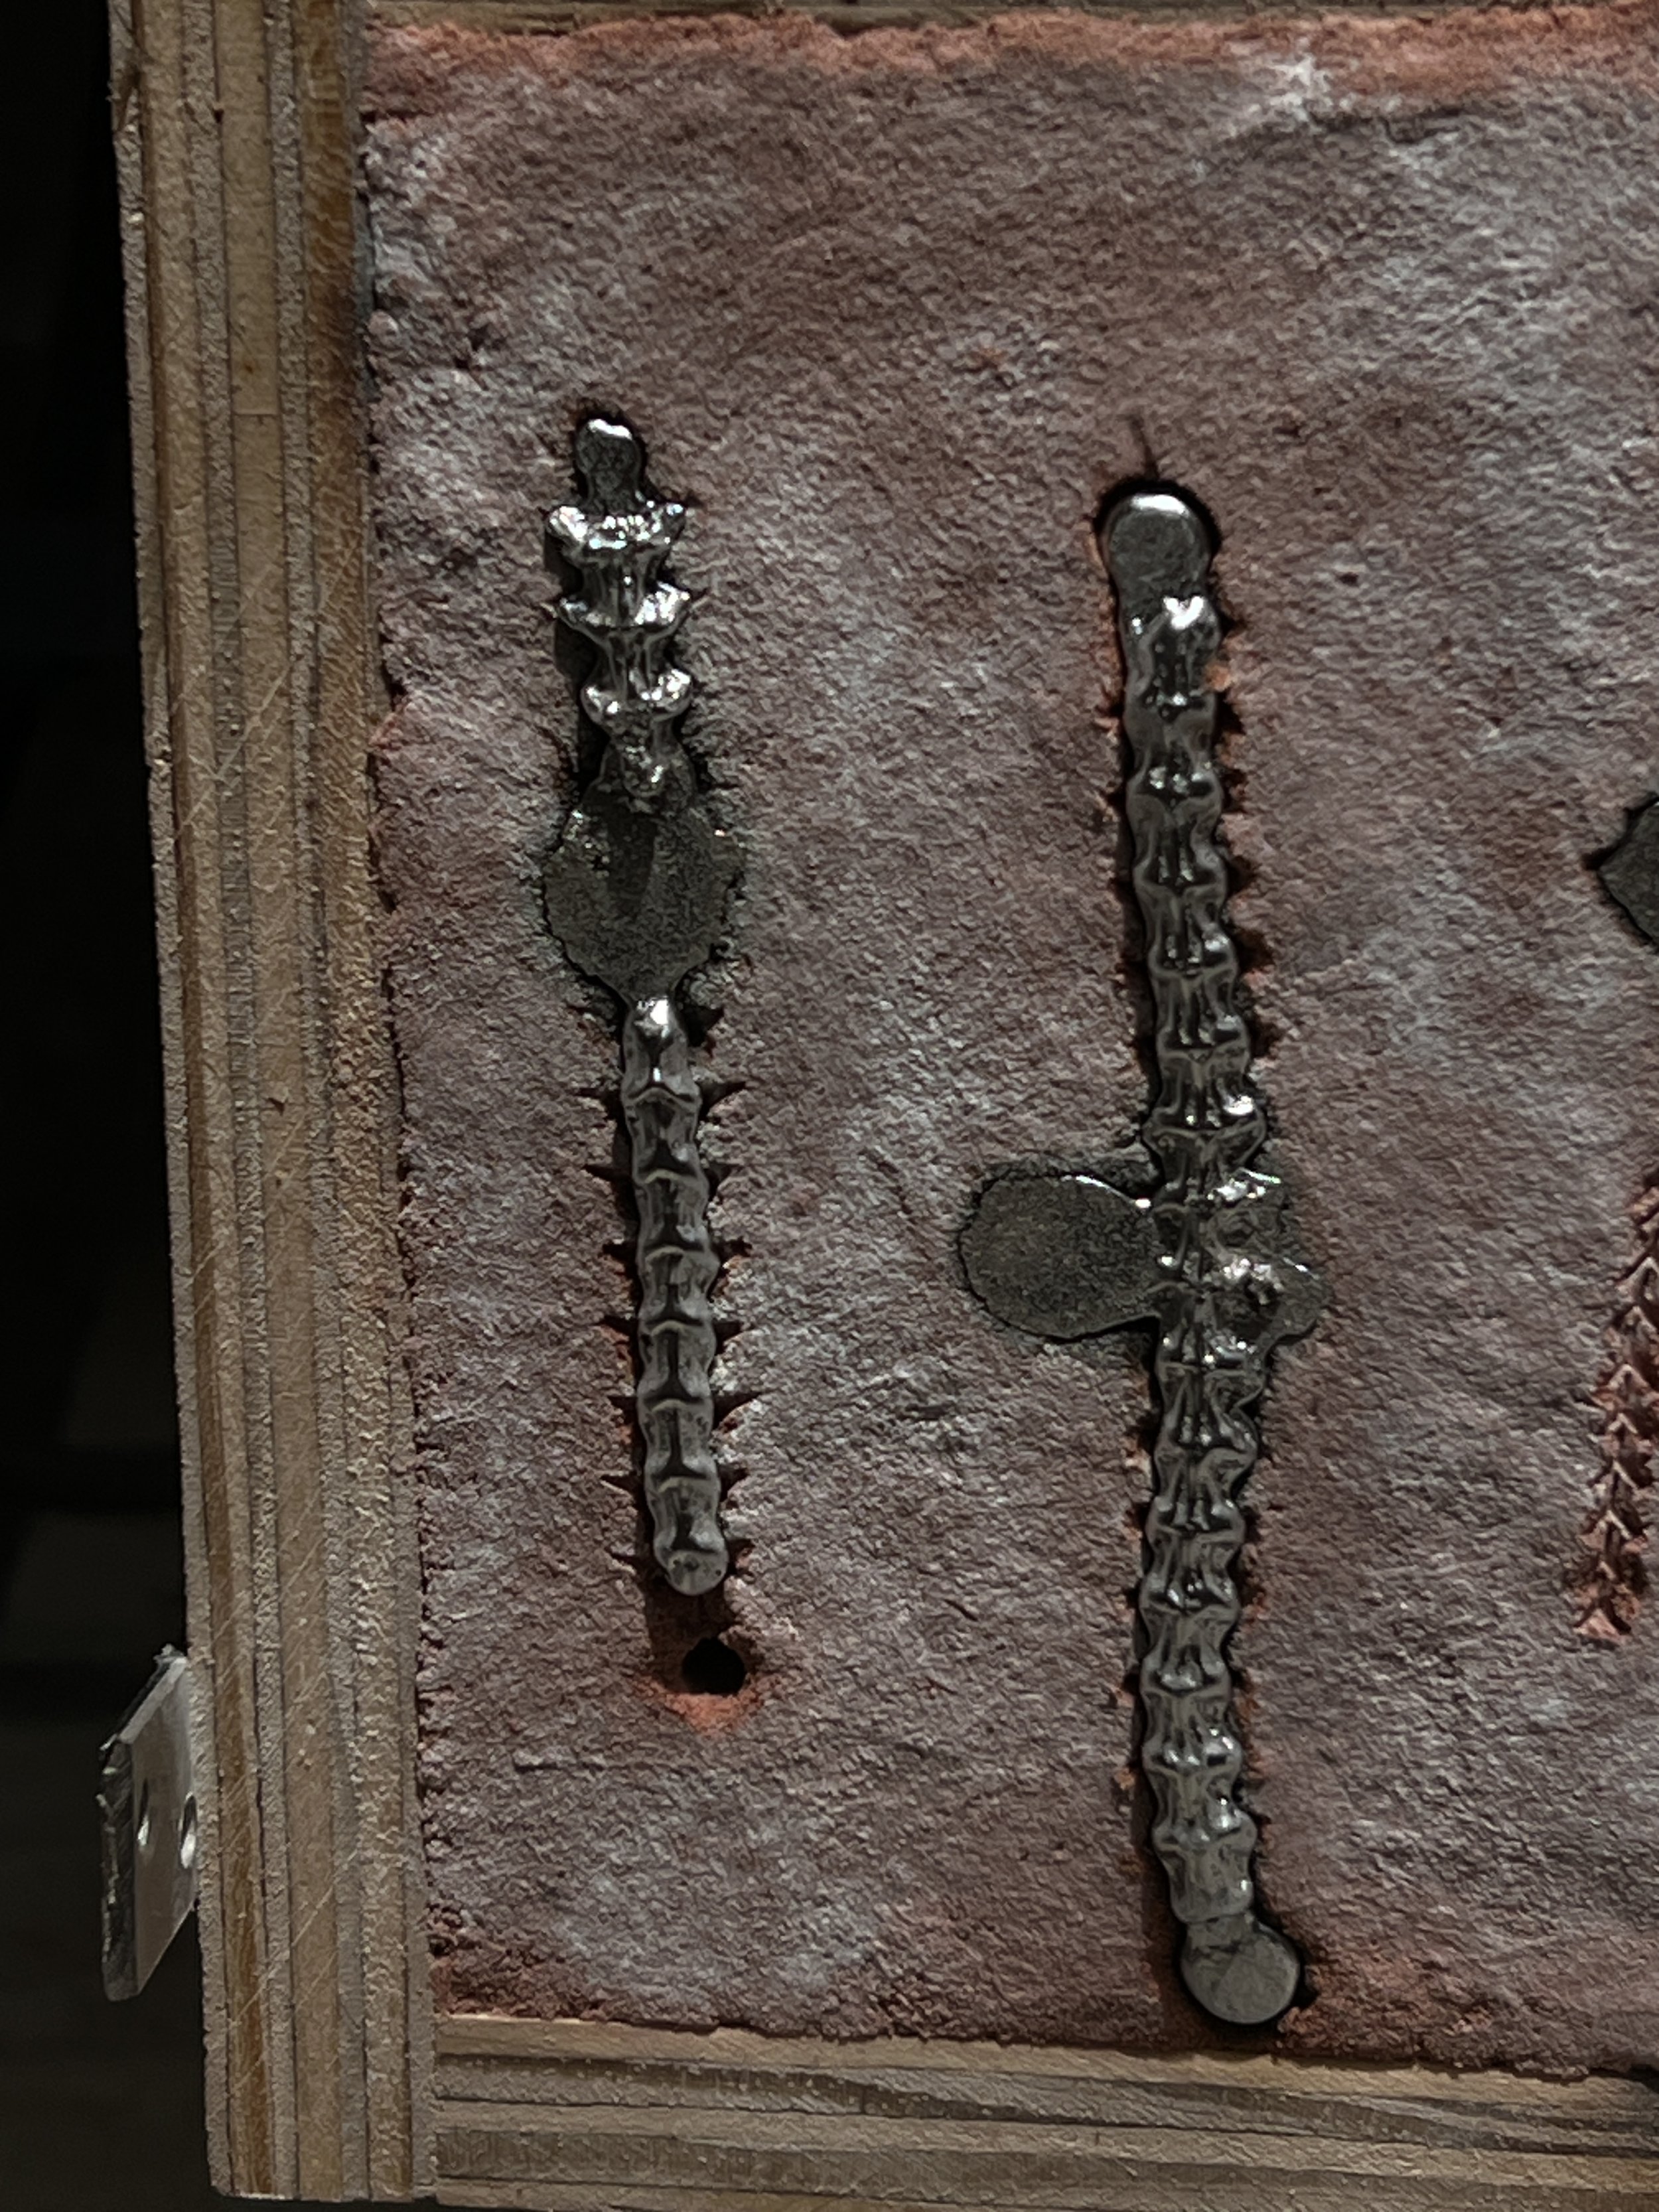
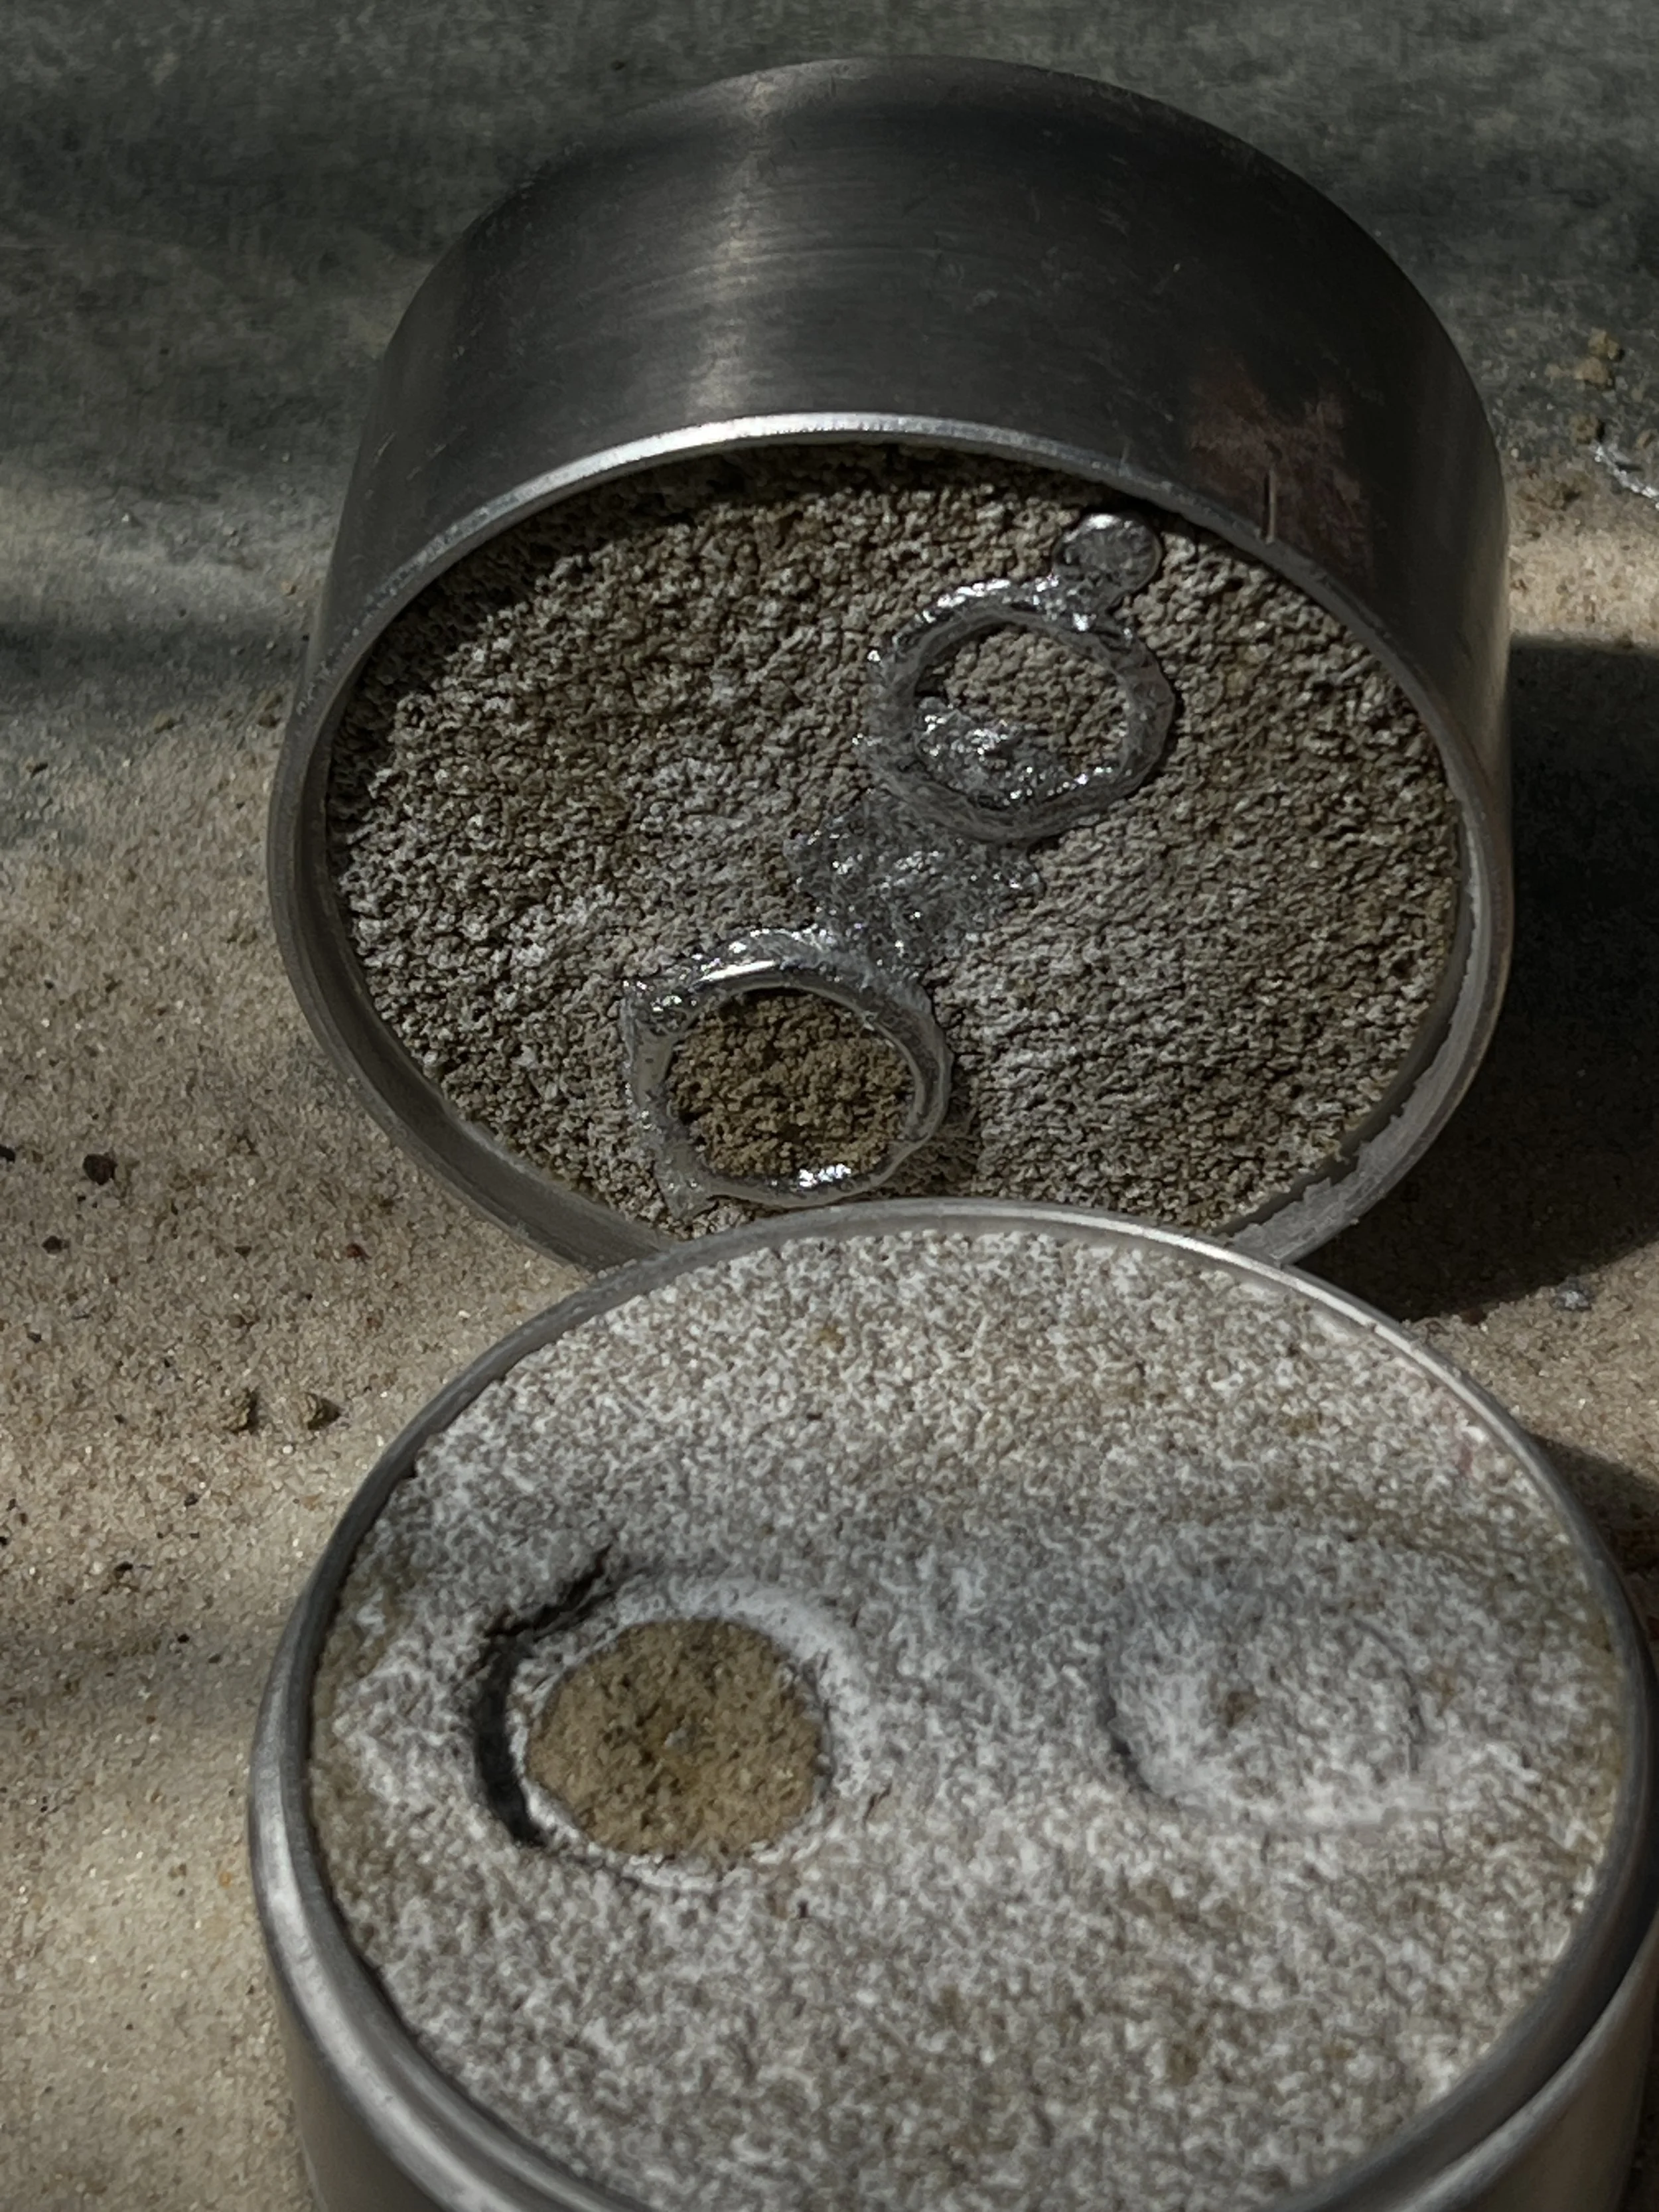
Most commercial casting sand is bonded with oil, Delft Clay being the one jewelers would know and use; it's reliable and holds detail fairly well (see the detail of the snake vertebrae, directly below, in comparison to my first batch of casting sand, below that).
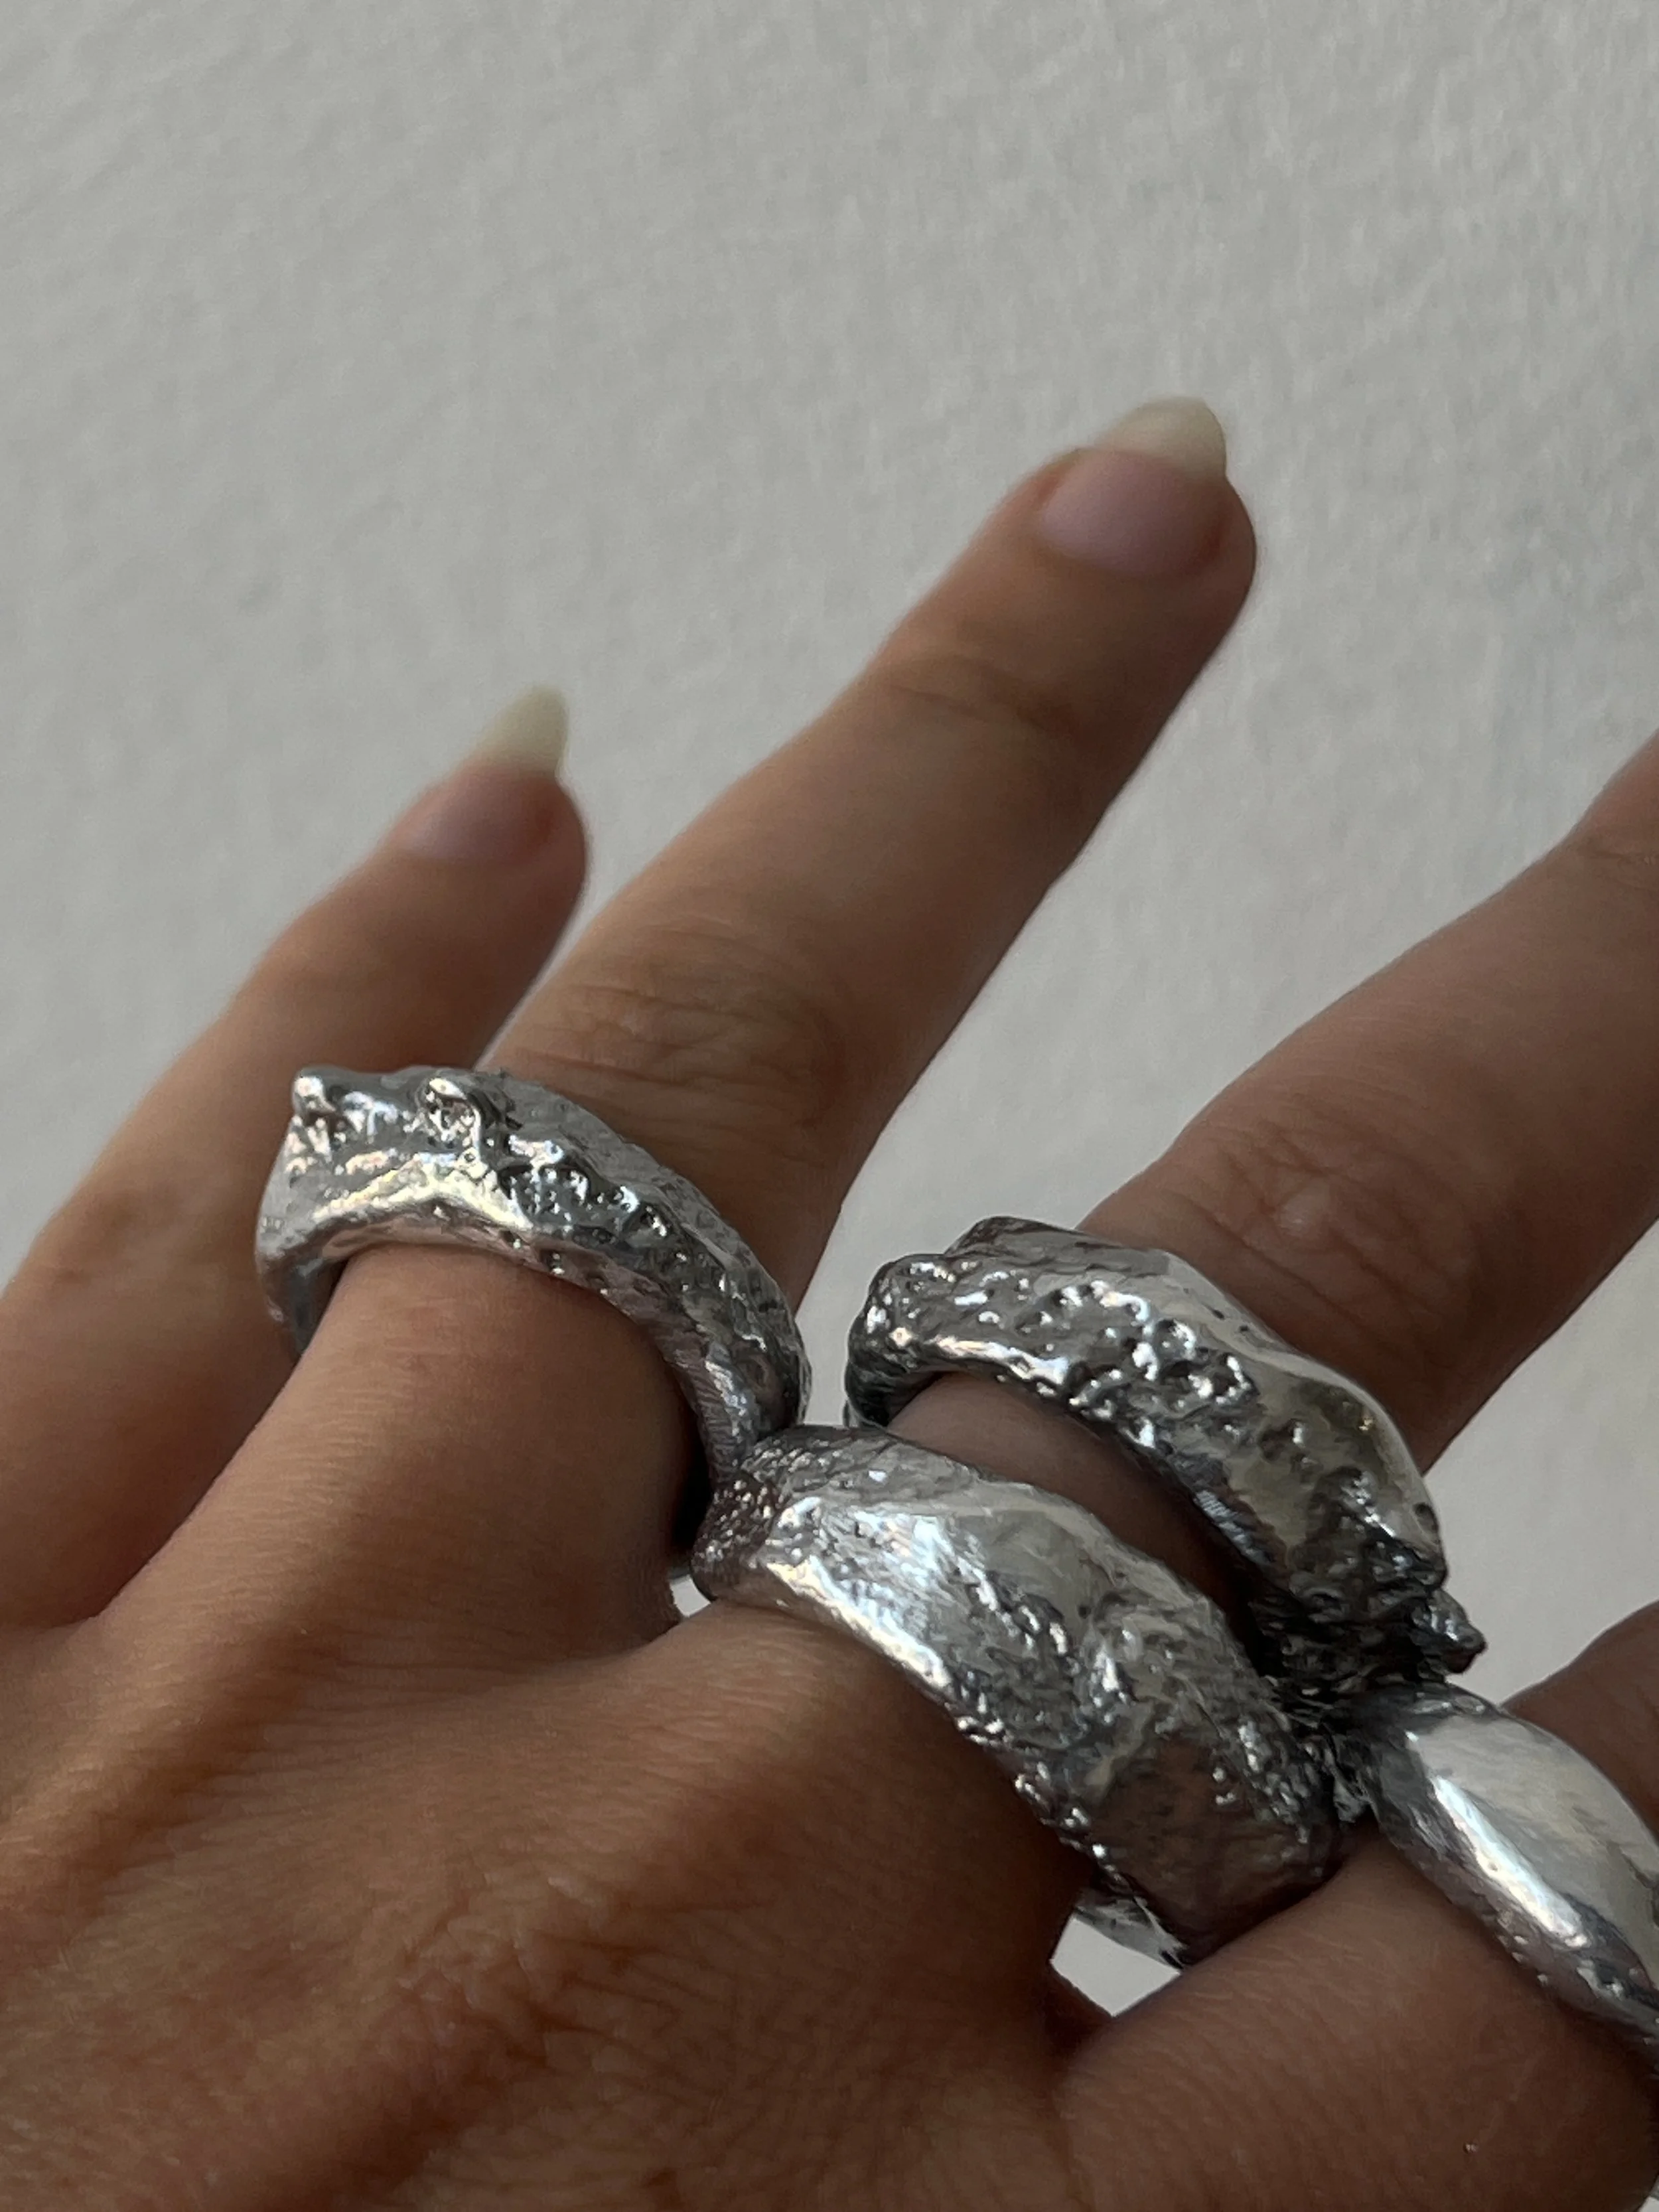
But I like to think the outcome is still stunning in its own right (below).
I used Delft Clay off and on up until 2026 as I worked towards my own mixture of water bonded sand. It took a long time to get the right materials and ratios down, no matter how many YouTube bros tell you how easy it is.
In addition to its petroleum downside, Delft also leaves behind a lot of waste; any part the molten metal touches is unusable and must be thrown out (I, of course, saved my spent Delft leftovers in hopes of using in future sand projects).
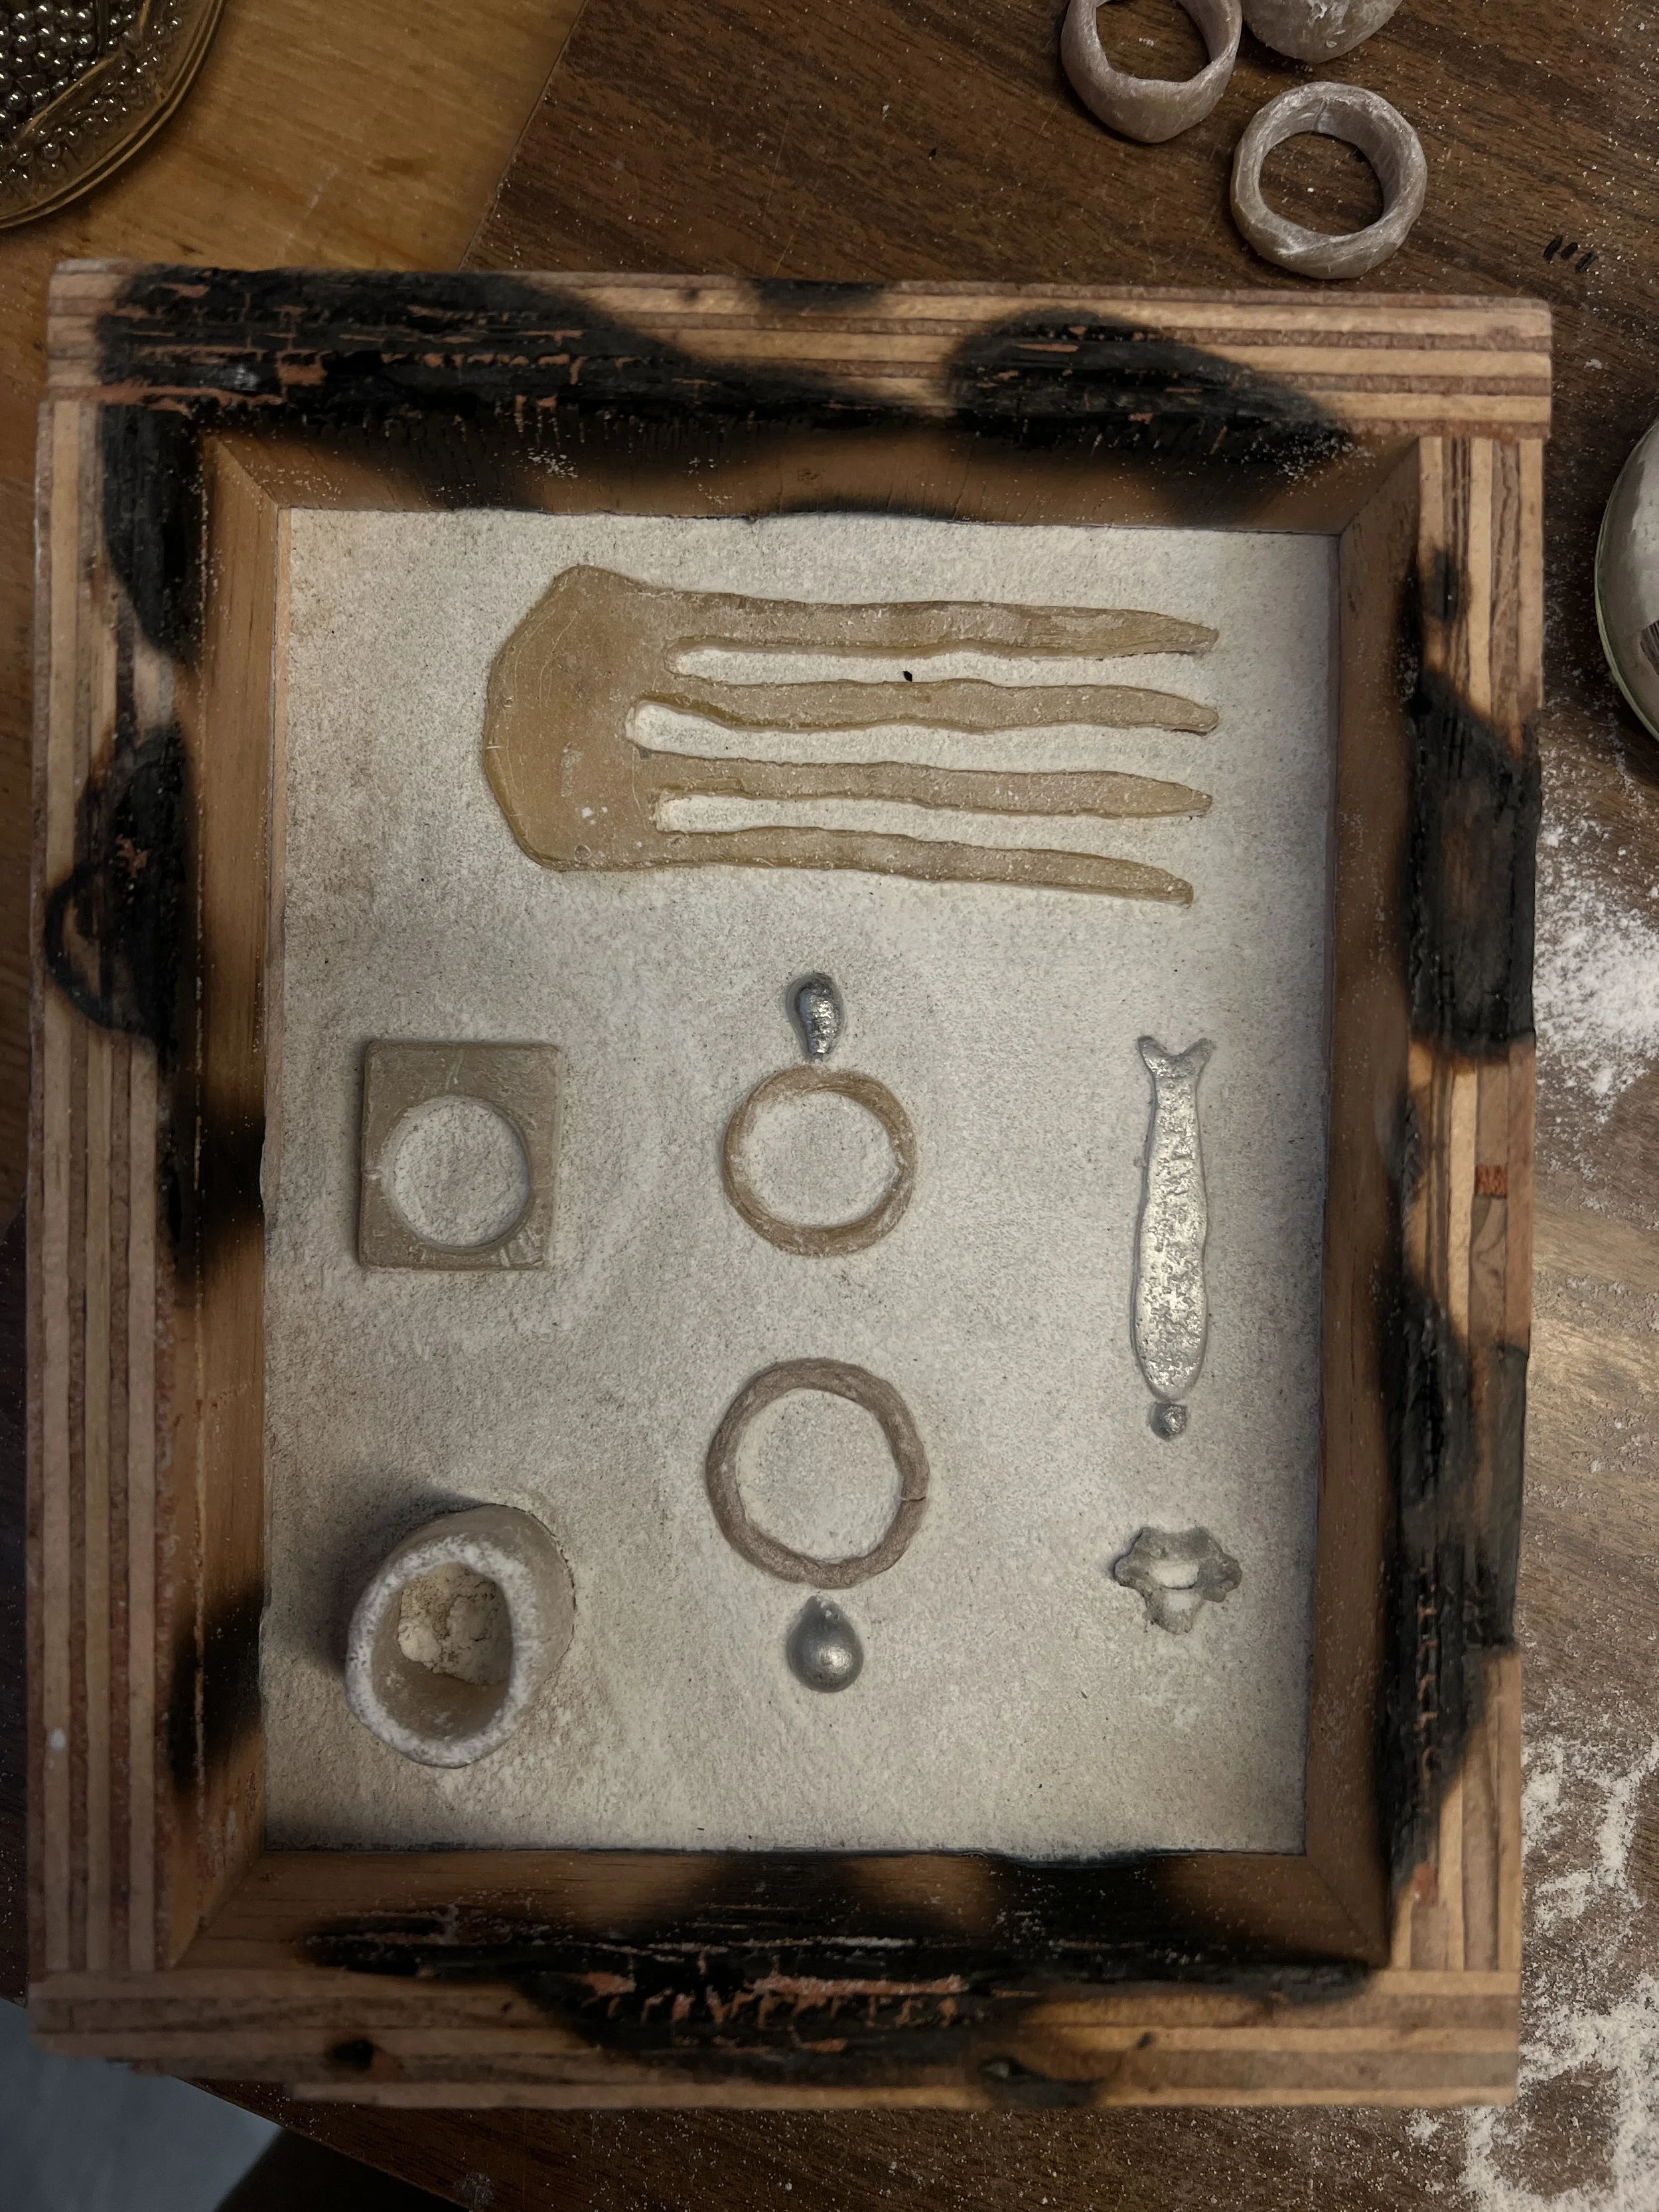
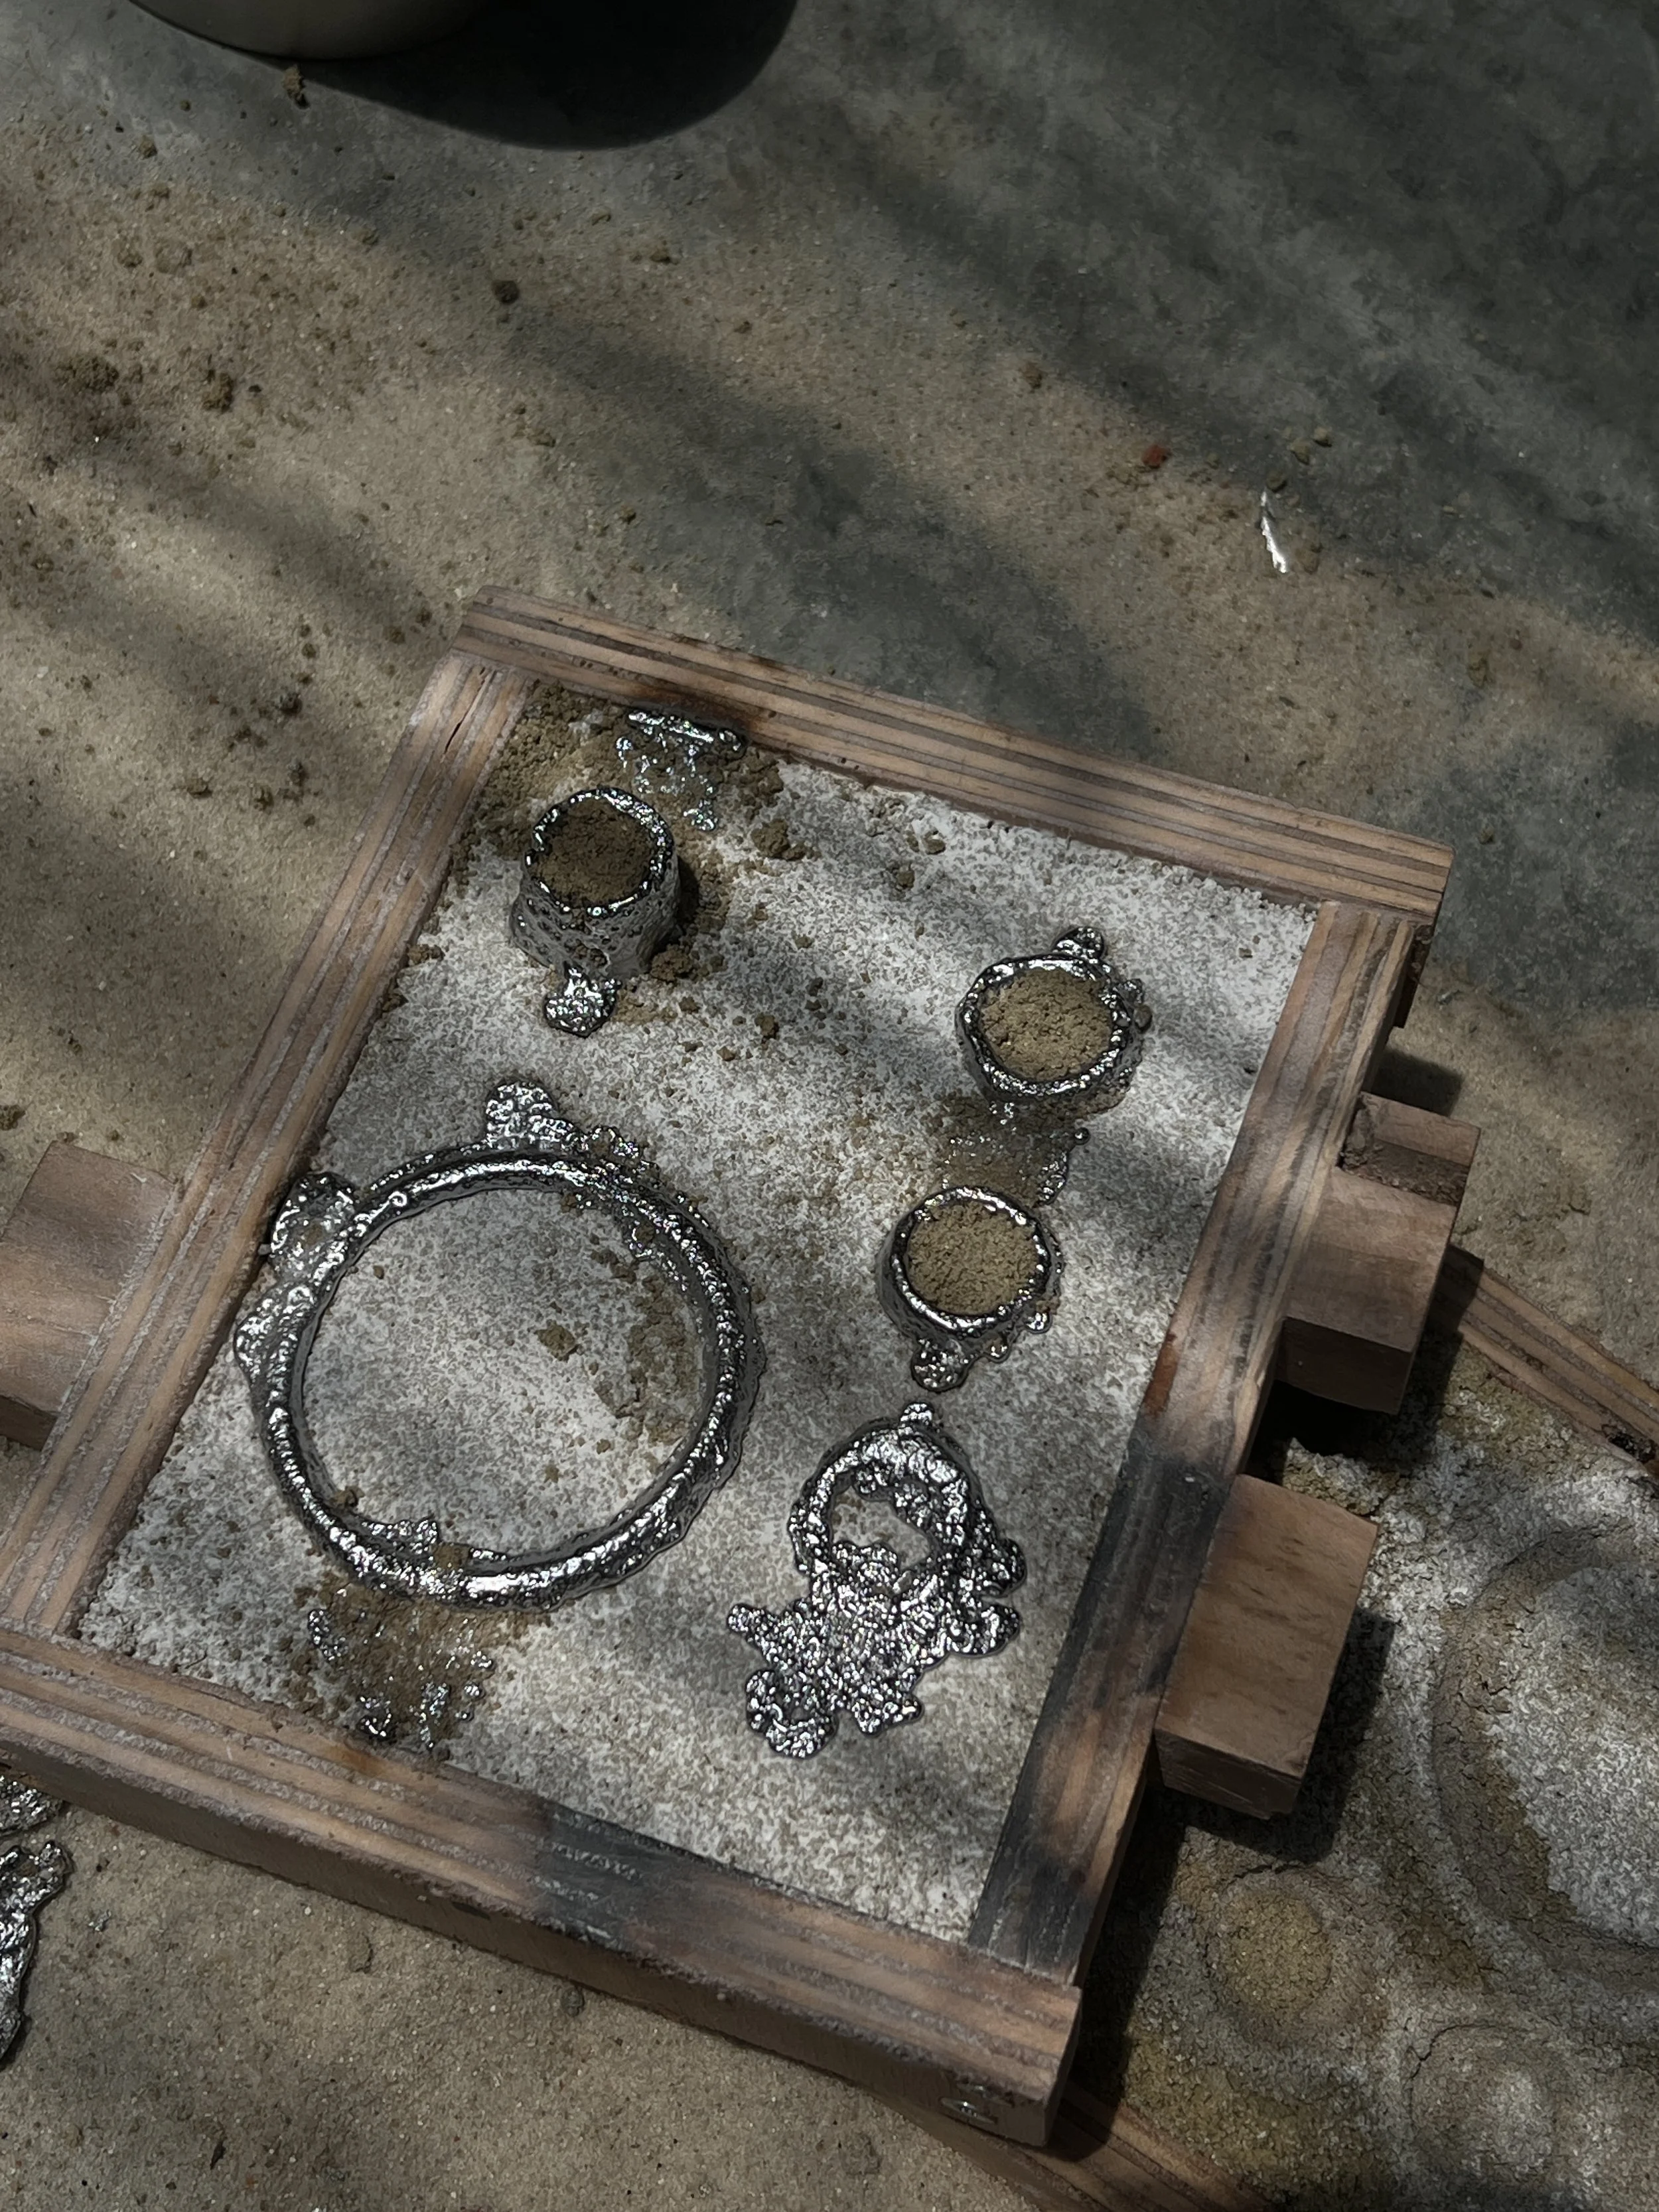
Above is my pride and joy. A clean mold removal ready for a smooth pouring. Each of the pieces you see on the site is made using this sand unless otherwise stated.
I will write a whole entry on the making of this sand becuase as I said, it took me nearly four years to perfect— a lot of trial and error to share for those who wish to learn. The main culprit is the type of sand to use. I used thicker grain sands (above) that created grainy textures, which I still use in some designs, but for the finer detail and smooth surface for less clean up post-cast here are the ingredients:
9:1 mixture of aquarium sand (fine, round and smooth):Sodium Bentonite Clay (in powder form) + water to bind.
I feel a little guilty leaving you with only this mixture but for the sake of not dragging on, watch this space for a detailed walk through of mixing and replenishing spent sand.
CASTING BOXES
This is one of the side materials that exposes the Purist in me. But again, I love the challenge of seeing what can be done with what already exists, and the fact that a lot of modern day casting boxes are made from fresh aluminum, need I say more?
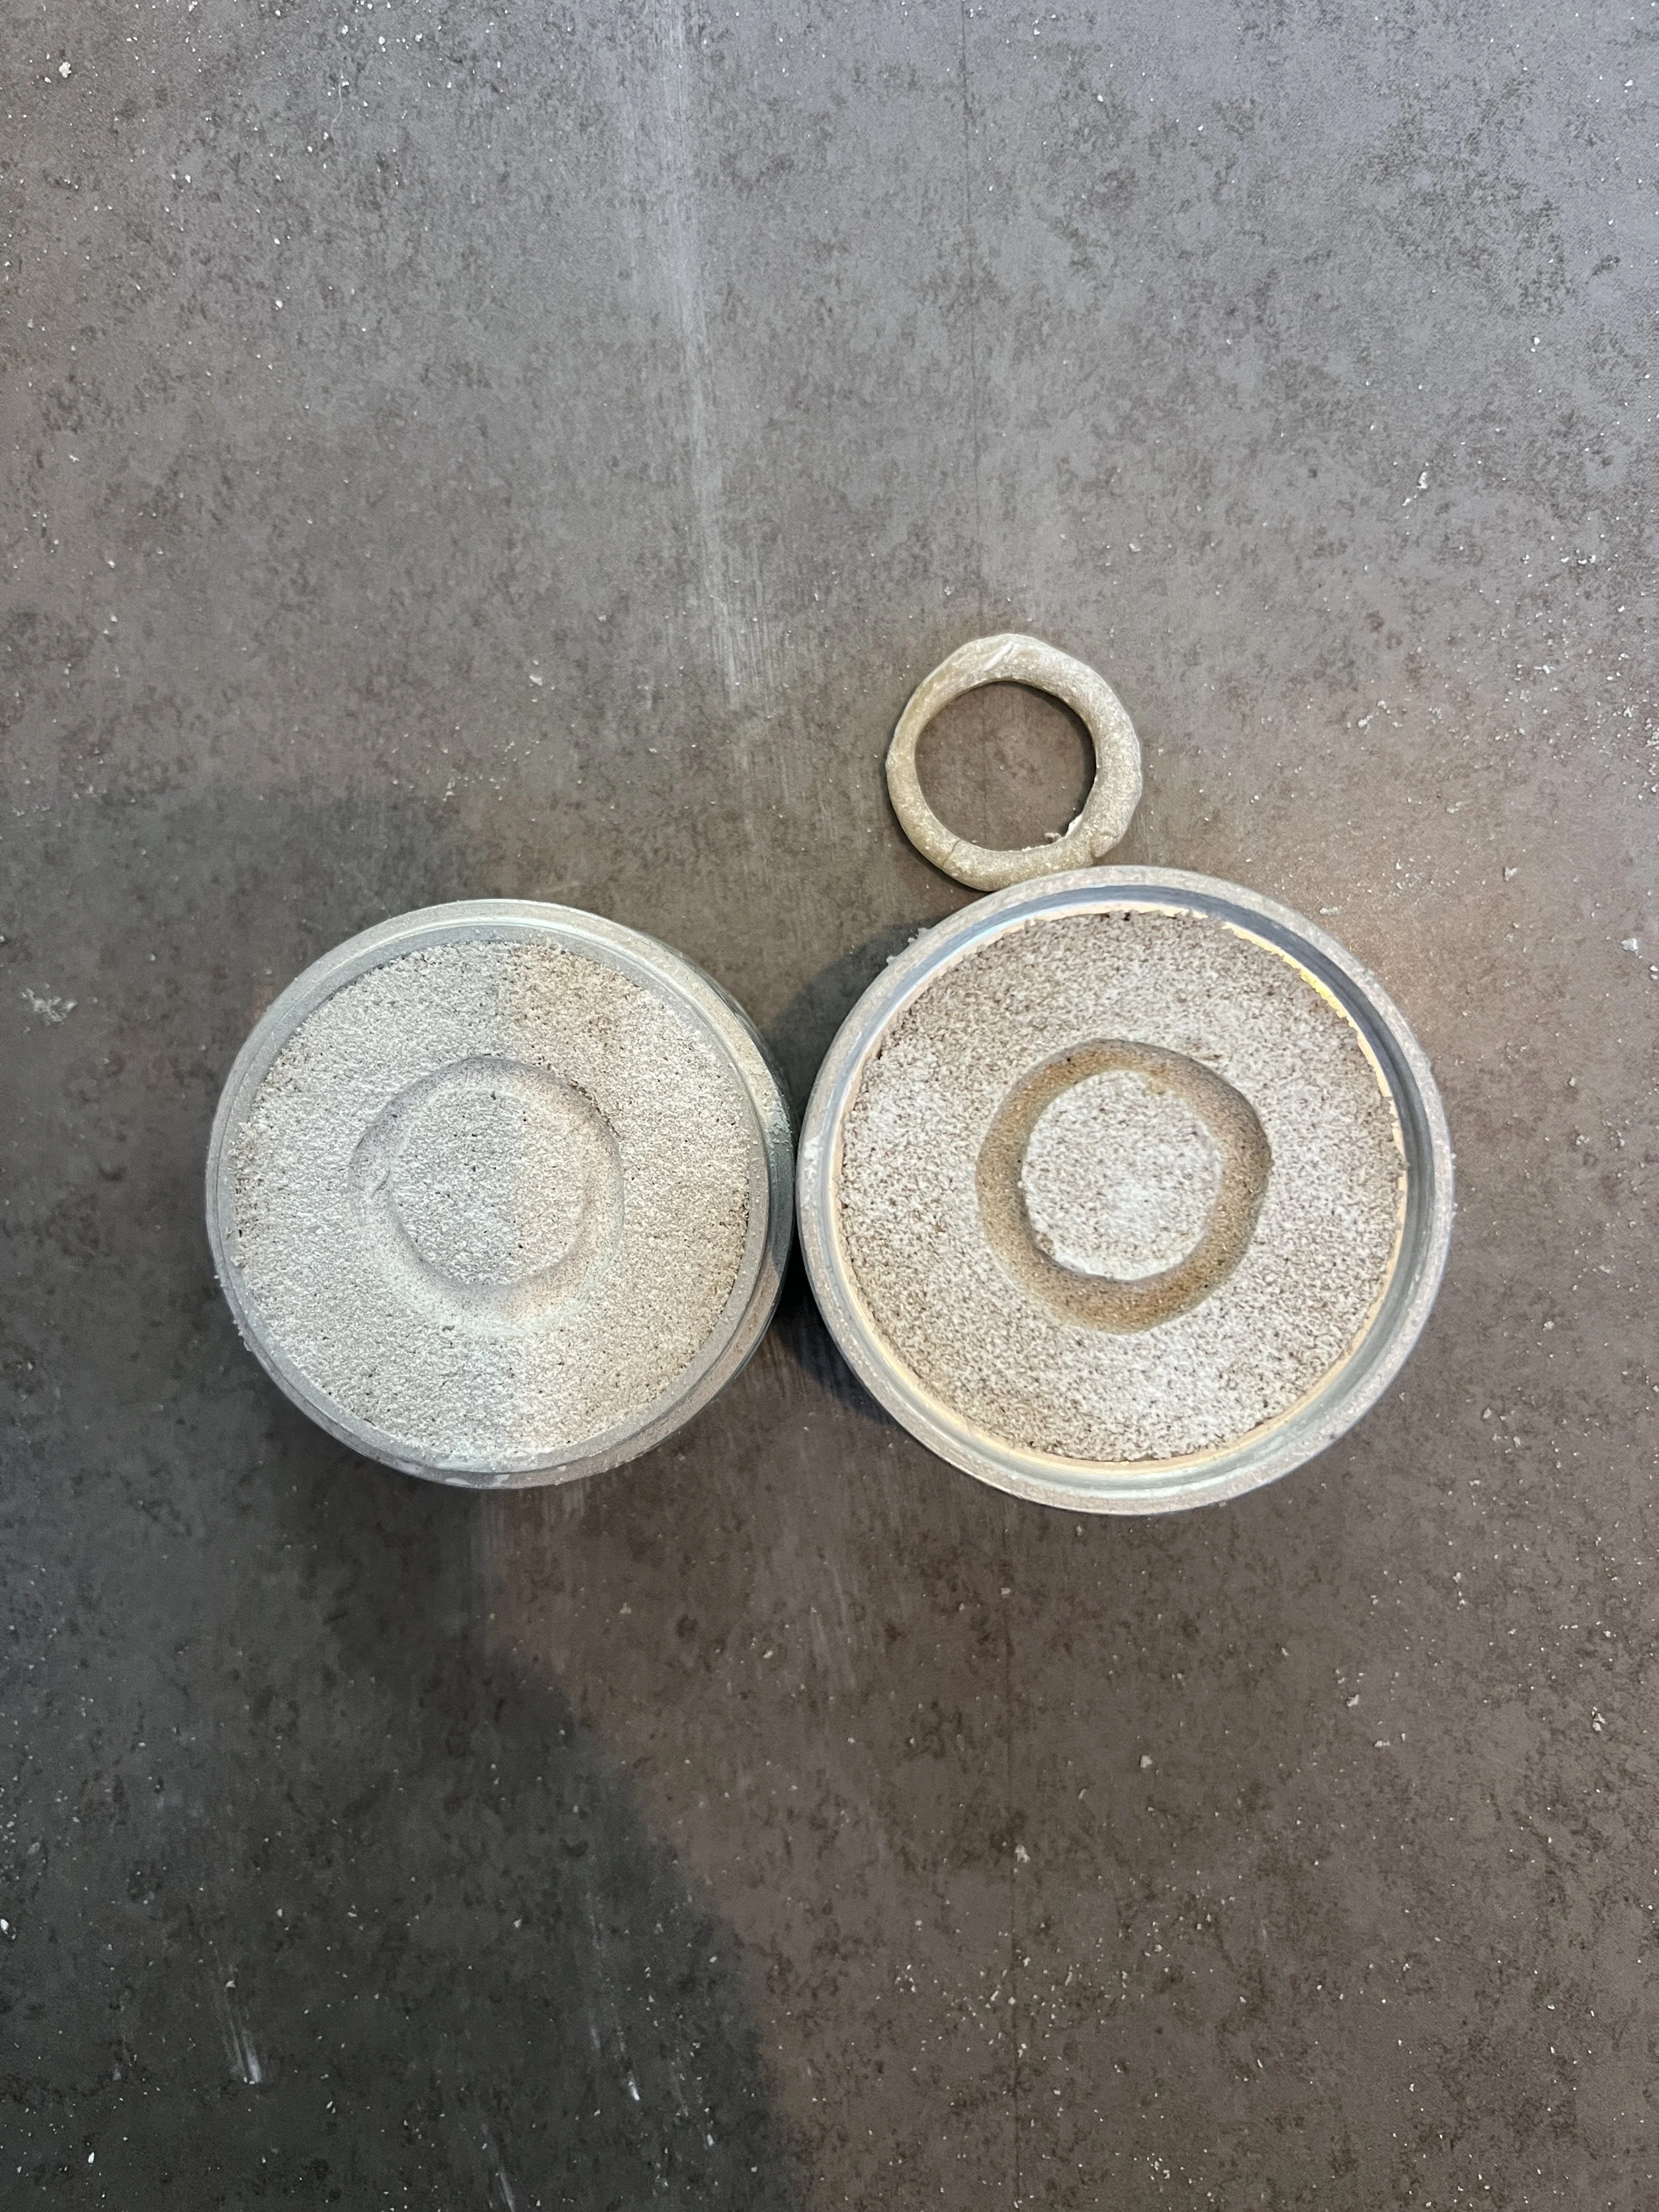
A casting box is the two part mechanism in which the sand is packed into each part with a mold in the middle that is removed before pouring in the molten metal.
In the beginning days I did purchase two aluminum casting boxes along with my first batch of Delft Clay because you have to learn somewhere. After using these for a while I wondered if they could be made from repurposed wood.
Now, a lot of people do this, it’s not something I came up with on my own. In fact, a lot of my process doesn’t contain things that have never been done before, but the thing is we have been offered tools and mechanisms like the standard pre-made casting box to make our lives easier as creators, but my question is always, at what cost?
And let me tell you again, the ‘handymen’ of YouTube make these things look a helluva lot easier to make than they are. This box below took my coworker and me over eight hours to create. You want a flat surface (difficult to get with repurposed wood) and clean sides to ensure no spillage when pouring. You can see throughout this journal entry the well-used casting boxes I’ve made over the years, a little burnt but still working.
POLISHING
Polishing is typically the final step in the jewelry creation process and one of the most harmful to both the worker and the planet.
I’m sure by this point you have guessed that, like the other materials, polishing compounds also contain petroleum. Not only this, but common compounds contain something called Tripoli which even with proper precautions like dust capturing boxes and dust masks, can leave behind silicas and oxides harmful to the lungs (3).
The list really goes on with the harms of modern polishing compounds and it doesn’t stop at worker harm; microplastics from epoxy compounds and leaching of toxic metal oxides used in the compounds into waterways is harmful in many ways (4).
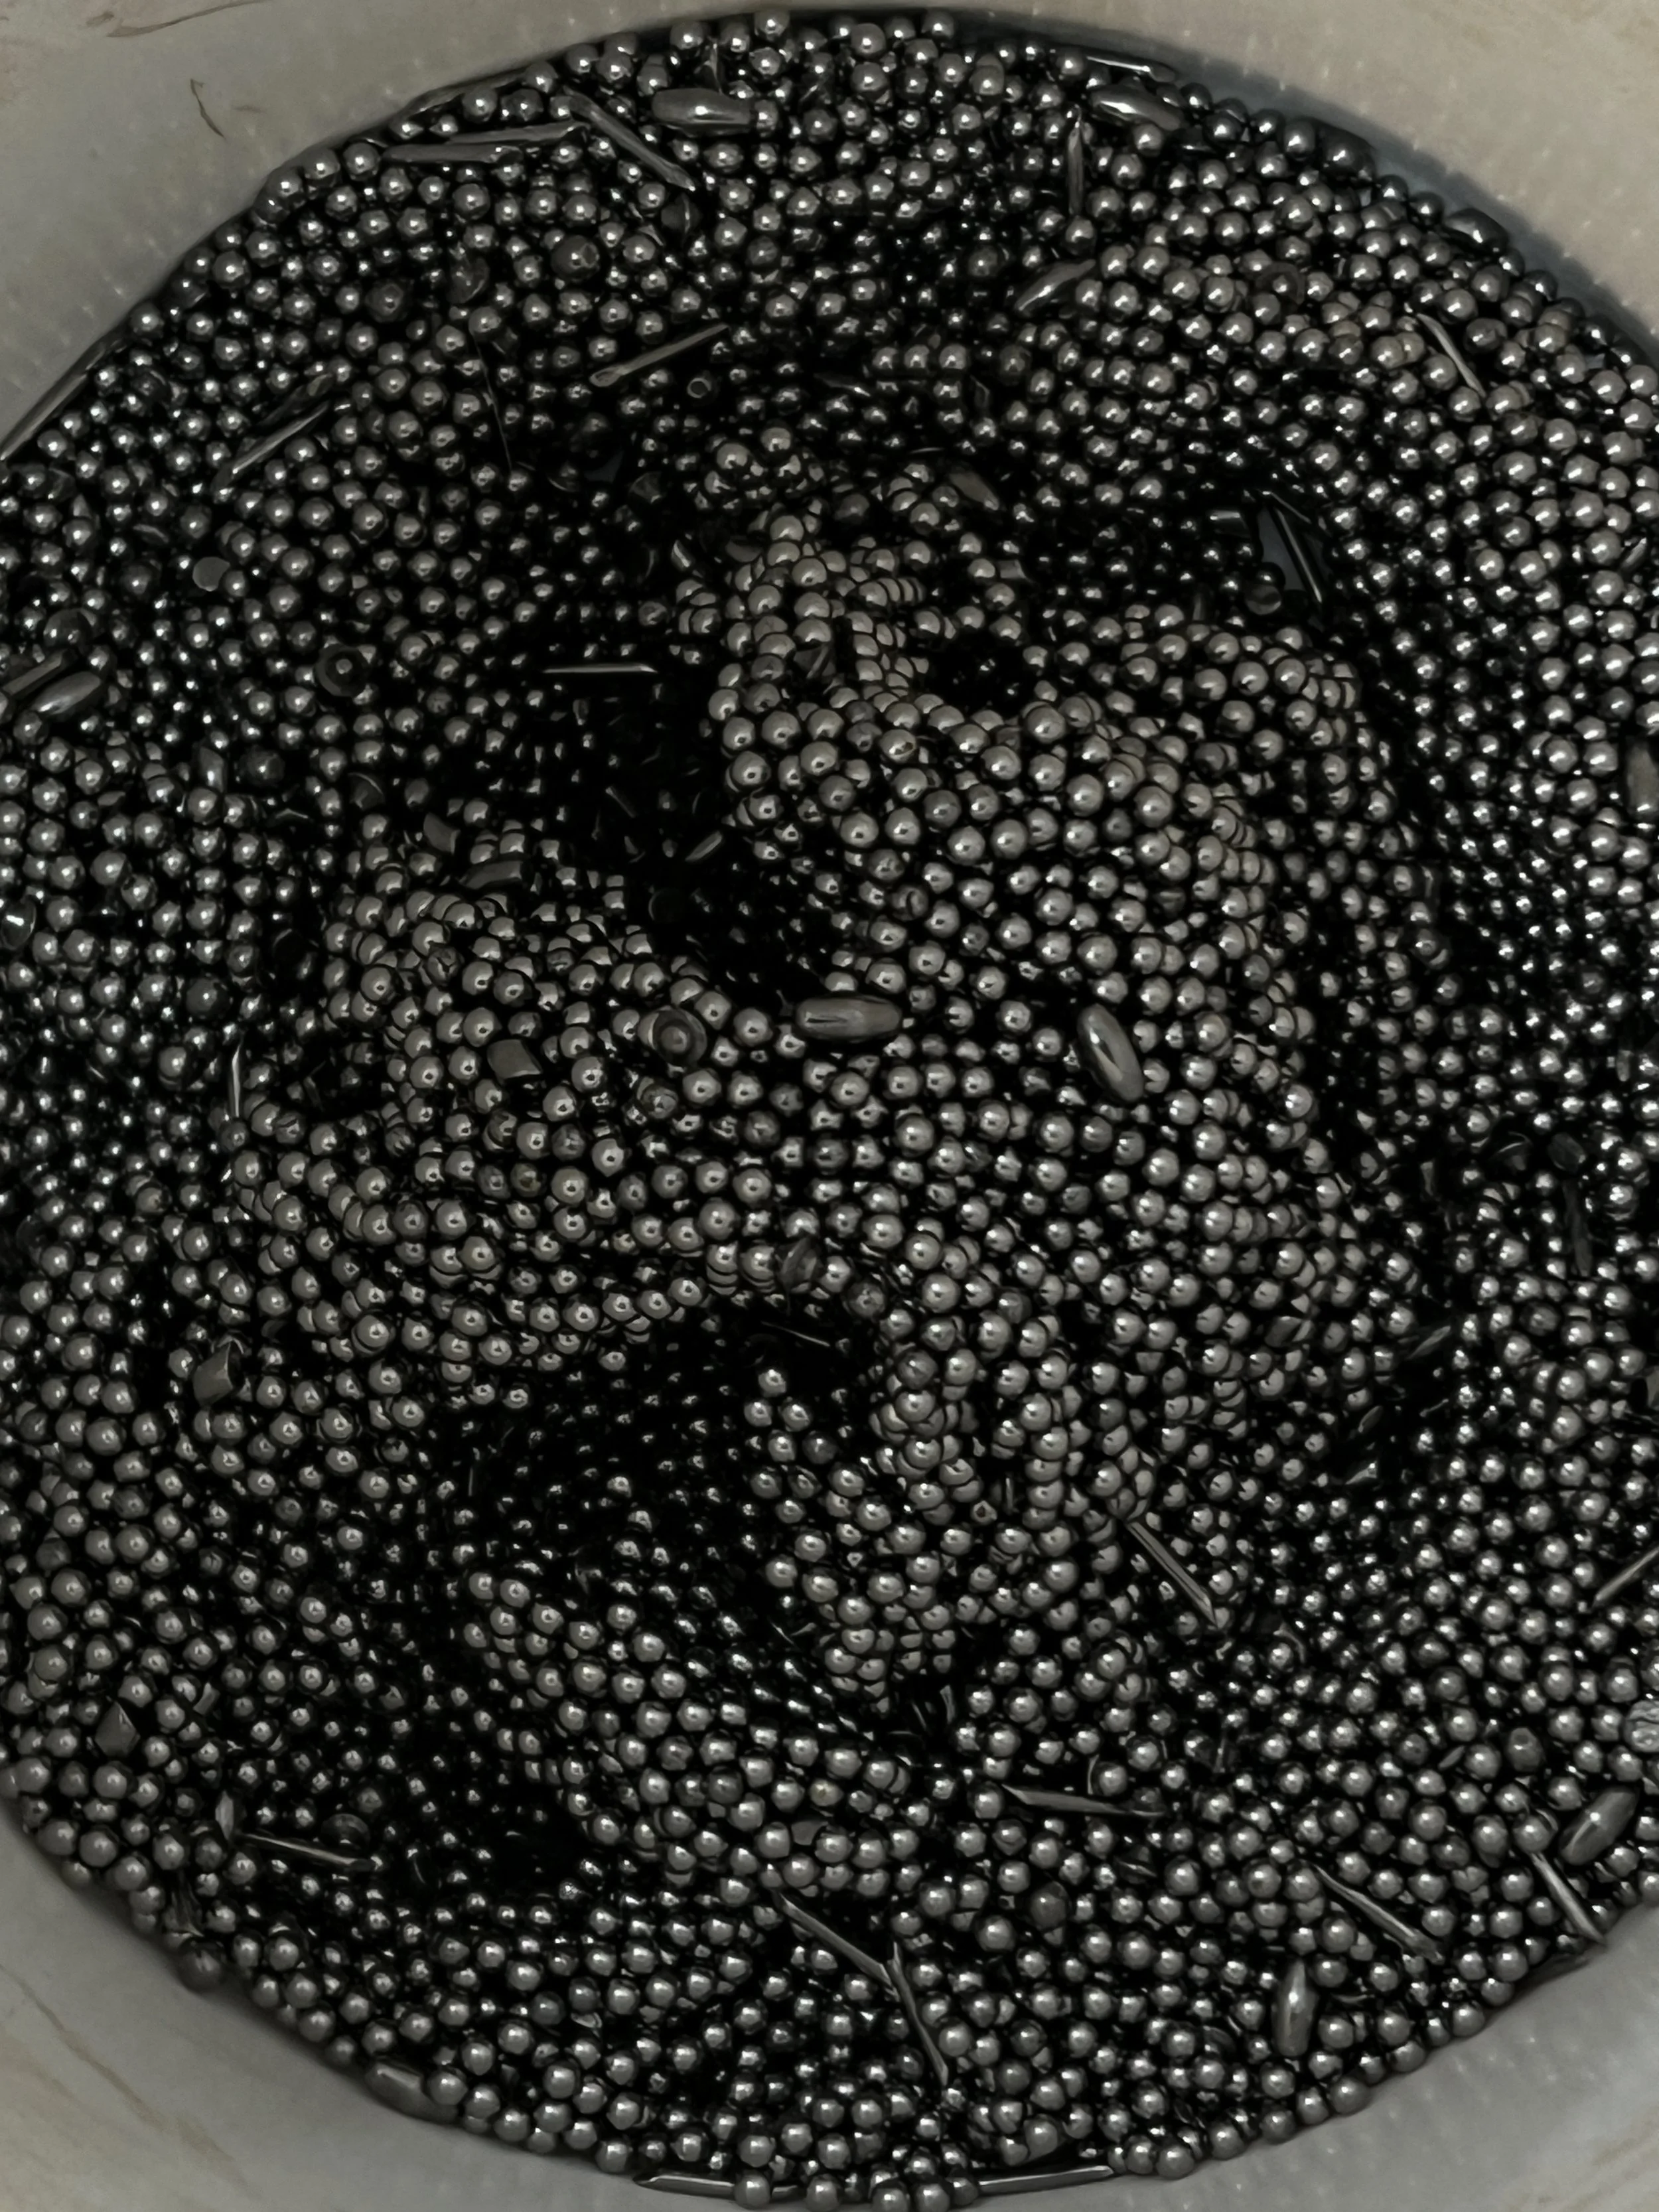
In my process, I polish using a mixture of steel shot (purchased new but if taken care of can last for years), a little water and a squirt of soap.
Tumblers both polish and work-harden metal in the process. For some pieces that I want stronger, for example the Hair Stick, I keep in the tumbler for about 2-4 hours to help strengthen the long, thin piece. For other already sturdy made pieces like closed rings and the Everyday Bangle, I leave in for about 30 minutes to an hour to achieve a nice shine.
The one and only downside I’ve found in polishing my aluminum pieces is that the tumblers don’t always come in the sizes you want. In this case I have turned to hand-tumbling. Yes, I walked around my studio with my Brutal Hook in a giant Tupperware of steel shot, soap and water for an hour plus shaking it to acheive its shine.
Sources:
(1) https://www.atsdr.cdc.gov/toxfaqs/tfacts111.pdf
(2) https://www.myportuguesemarket.com/pages/beesweet
(3) https://www.youtube.com/watch?v=ySpXVbrddes&t=6s
(4) https://www.4ocean.com/blogs/sustainable-bracelets/how-does-jewelry-impact-the-environment?srsltid=AfmBOopThgm9ylN8opB4RlbD1qdImTrZkHR-EHNBVNMBnOpEtF0Th-Lf